Basic Git workflow
Prerequisites
Install Git tools
Read the Git flow guide
Scenario
We will in this lab work through some basic git handling, learning about git commands such as add, commit, push and pull. We’ll also have a look at some basic tasks in DevOps for handling authorization tokens etc. Finally we’ll try and use some of the Pull Request features in DevOps.
Setup a new DevOps instance
Let’s kick this of by setting up a new instance of Azure DevOps for these labs.
Navigate over to https://visualstudio.microsoft.com/
Login with the user your planing to use for this. Once logged in look for and choose “Create new organization”.
Give the new instance a nice name - the name needs to be globally unique but for these labs it doesn’t matter that much what you choose to call the instance. If one should however create a instance for a company, the name should of course reflect the company name.
Create a project
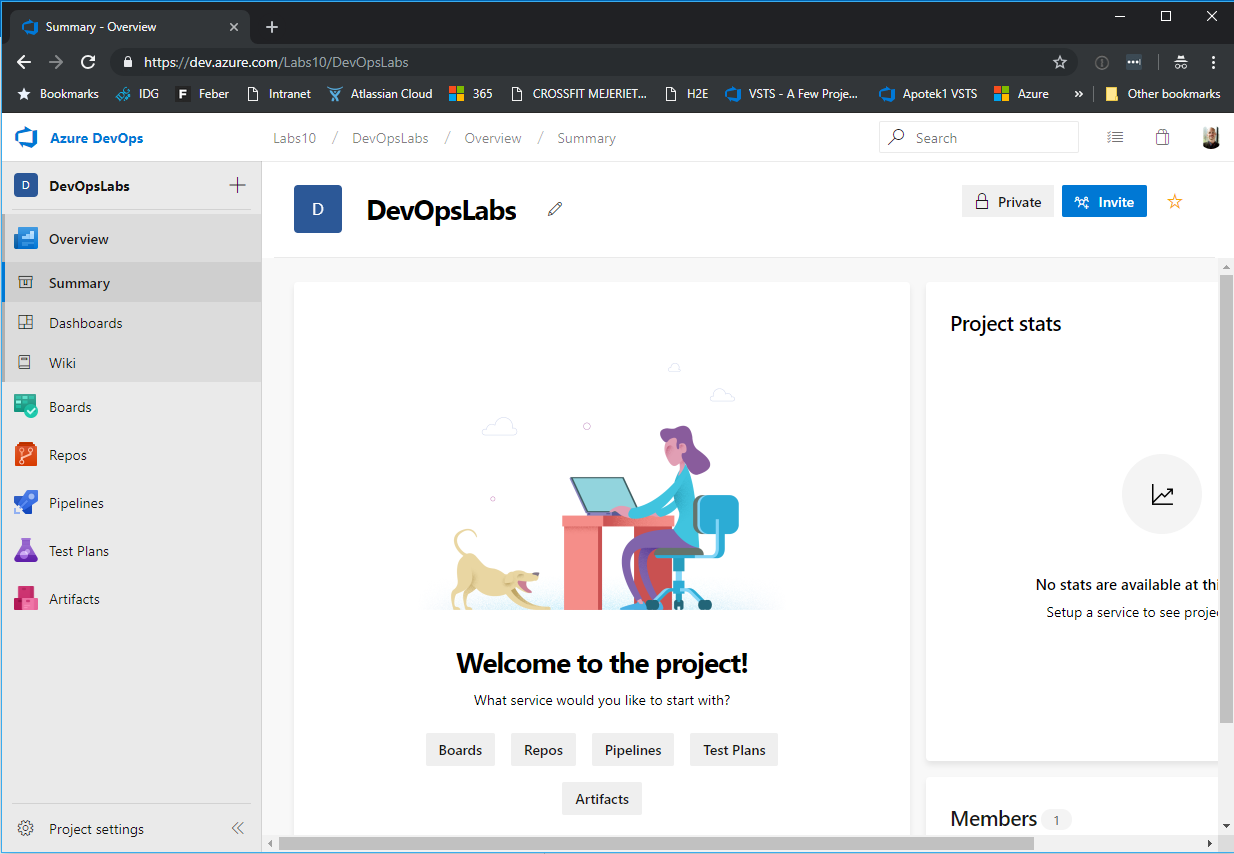
Once the instance is created we need to create a project. Let’s call the project “DevOpsLabs”. Choose to create a private project as we don’t want to share this with the world just yet. 😀
Great, now we have a DevOps instance and a project and can start creating some repositories!
Create your first repo
Navigate to the “Repos” tab
Use the left side menu to navigate over to the “Repos” tab and click the “Files” section. This will take you to the repo that you created from start in the project. We’re not going to use this but instead create a new one.
Create a new repository
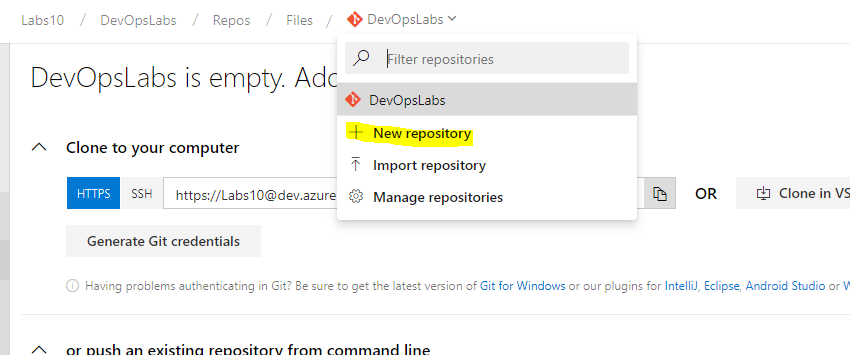
Click the “New repository” link as shown in the image below. Name the new repository “INT1001.SalesOrder”.
Create a local clone of the repo
Make sure we have Git tooling in place
As we now have a new repository in Azure DevOps the next thing we need to do is to clone it and get a local copy of it.
To do this we need to have git installed on our machine as mentioned in the prerequisites for this lab. Start a new command prompt and type
Gitto make sure everything is installed correctly.Prepare for cloning
Before we clone the repo to get a local copy of it we should navigate to the folder we like to place the local copy of in. So make sure to navigate to for example
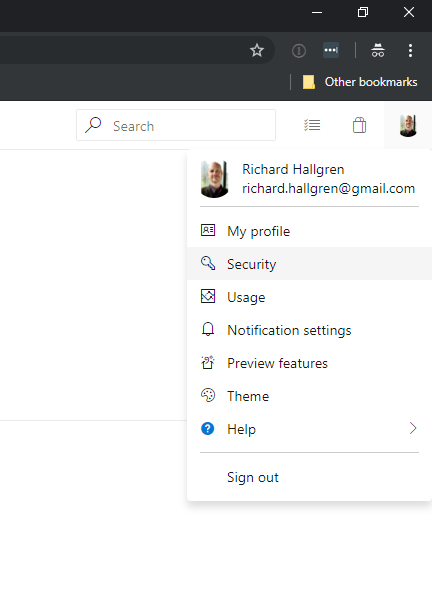
c:\Dev\DevOpsLabswithin the prompt.We also need some credentials to authenticate the Git tools against DevOps. Click the profile image in Azure DevOps and choose “Security”.
Once in the User Settings make sure to select the setting for “Personal Access Tokens”. Create a new token. Give it a name and select the “Full access” in the “Scope” section. This will create a token that you can copy, copy the token and save it for the next step.
Clone the repo
First we need to have a URL to the the repository we want to clone, you’ll find the URL on the repo page in Azure DevOps. Copy the URL. It should look similar to something like below (but make sure to use your specific URL!)
1
https://Labs10@dev.azure.com/Labs10/DevOpsLabs/_git/INT001.SalesOrder
To clone the repo execute the clone command by typing
git clone <clone url>in the command window. Make sure you’ve navigated to the folder inside the prompt that you want to clone to (the repository will create a folder with the repo name within the current folder) and that you have the token from previous step ready to go.Execute command. Enter the token in the password prompt (no need to change the user name).
You should now have an empty local cloned copy of the repository.
Your first commit and push
Navigate to the repository just created and take a look. It should currently just be an empty folder (with a hidden .git folder).
Create a .gitignore file
A .gitignore file is always a good start. The file contains a list of files and folders that should be ignored from source control. So create a new file in for example notepad. As we’re often creating csharp project and don’t want the bin and obj folders in source control we’ll start by adding these to the list of folder to ignore. So just add there to the file and save it.
1
2
3
bin
obj
.vsAdd file to index
Git has an index of files, it’s the files in the index that are monitored by git for changes that we then can commit. So the first thing we need to do with a new file that we want to source control is to add it to that index. We do this by using the
git addcommand.The
addcommand also expects a path to files we like to add. One can however usegit add .to add all changes. So for simplicity we’ll just execute that command;git add ..Commit changes
Once we added files to the index and the staging area we can commit changes. We do that using the
commit´command.Execute the command below to commit all changes on the indexed files (in out case that’s just the addition of the new .gitignore file).
1
git commit -m "Add .gitignore file"
We now have a commit in our local repository. Finally we want to push this to the remote repository on Azure DevOps.
Push changes to Azure DevOps
To push changes we simply execute
git push, that should send all the current commit to the DevOps instance.Navigate over to your DevOps instance to verify that the changes your expecting has been published to the online remote repository.
Notice that we just pushed our changes to the master branch - that’s something one really want’s to avoid. We’ll look more in to branches next.
Folder structure and branches
It’s common to have multiple types of resources when working with a repository. To make this work when it comes to builds and releases it’s important to separate this using an appropriate folder structure. Later in this lab we’ll create some BizTalk resources as well as some Azure resources. So let’s prepare for that.
Create a folder for BizTalk and one for Azure
Navigate to the folder where we just cloned the repository and create a the folder structure shown below.
1
2
3
4
.
├── BizTalk
└── Azure
└── ServiceBusSimulate a a few changes
Next we’ll create a simple file called “BizTalkFile1.txt” to the BizTalk folder. Add some random text to it.
Add another file called “ServicBusChange1.txt” to the ServiceBus folder. Add some random text to it.
Now we have some changes to the BizTalk part of the solution and some to the ServiceBus part - of course none of them are committed at this stage. As it’s important to keep commits as isolated to a specific change as possible we first like to add the only the BizTalk changes in one commit, in one branch and in one push.
Branch only BizTalk changes
So instead of adding these to the master branch as we did before we’ll now create a new branch called “BizTalkChanges” We do that by executing the command
git branch "BizTalkChanges"that will create the new branch stating at our current commit. Next we need to switch over to that branch. We switch branch by checking it out, executegit checkout "BizTalkChanges".You’ve now created a new branch and switched to it.
Commit
For the commit we now only want the changes that are related to BizTalk - so instead of adding everything using
git add .we’re only adding the everything in the BizTalk folder using the commandgit add BizTalk.Running
git statusnow shows that we have on file staged for commit (our file in the BizTalk folder) and one file that’s currently untracked. That’s good as we’re going to handle the Azure changes separately.Commit the staged changes using the command
git commit -m "Some important change to the BizTalk solution".Notice now that this change only lives on your new “BizTalkChanges” branch and not in the master branch! Before we can push it to DevOps we need to tell git what the branch should called there (we need to defined the up-stream branch to talk git language). We do this and a push by executing
git push --set-upstream origin BizTalkChanges- this let’s git know that the branch will be called “BizTalkChanges” also in our origin remote, that’s in our case is Azure DevOps.Create a Pull Request
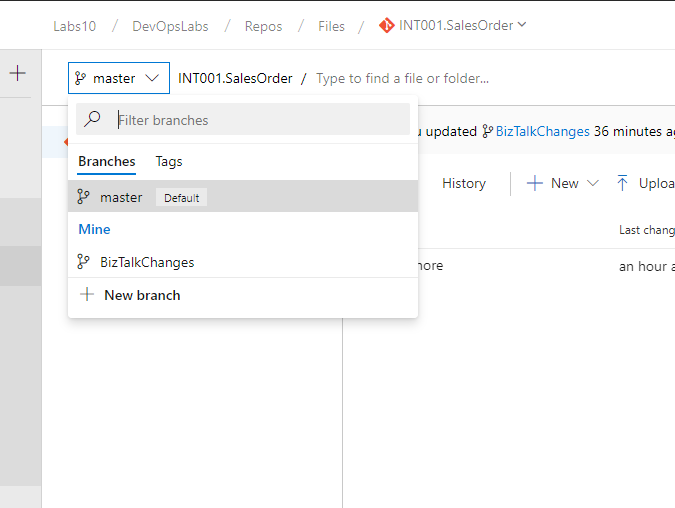
Now head over to DevOps and the “Repos > Files” section and the repository you’ve created previously. You should now see your now branch with the commit that you’ve just pushed there.
Next we want to create Pull Request with the changes that we’ve just pushed. Pull Request are used for keeping a number of commit together and to enable co-operation when merging a branch in to another branch.

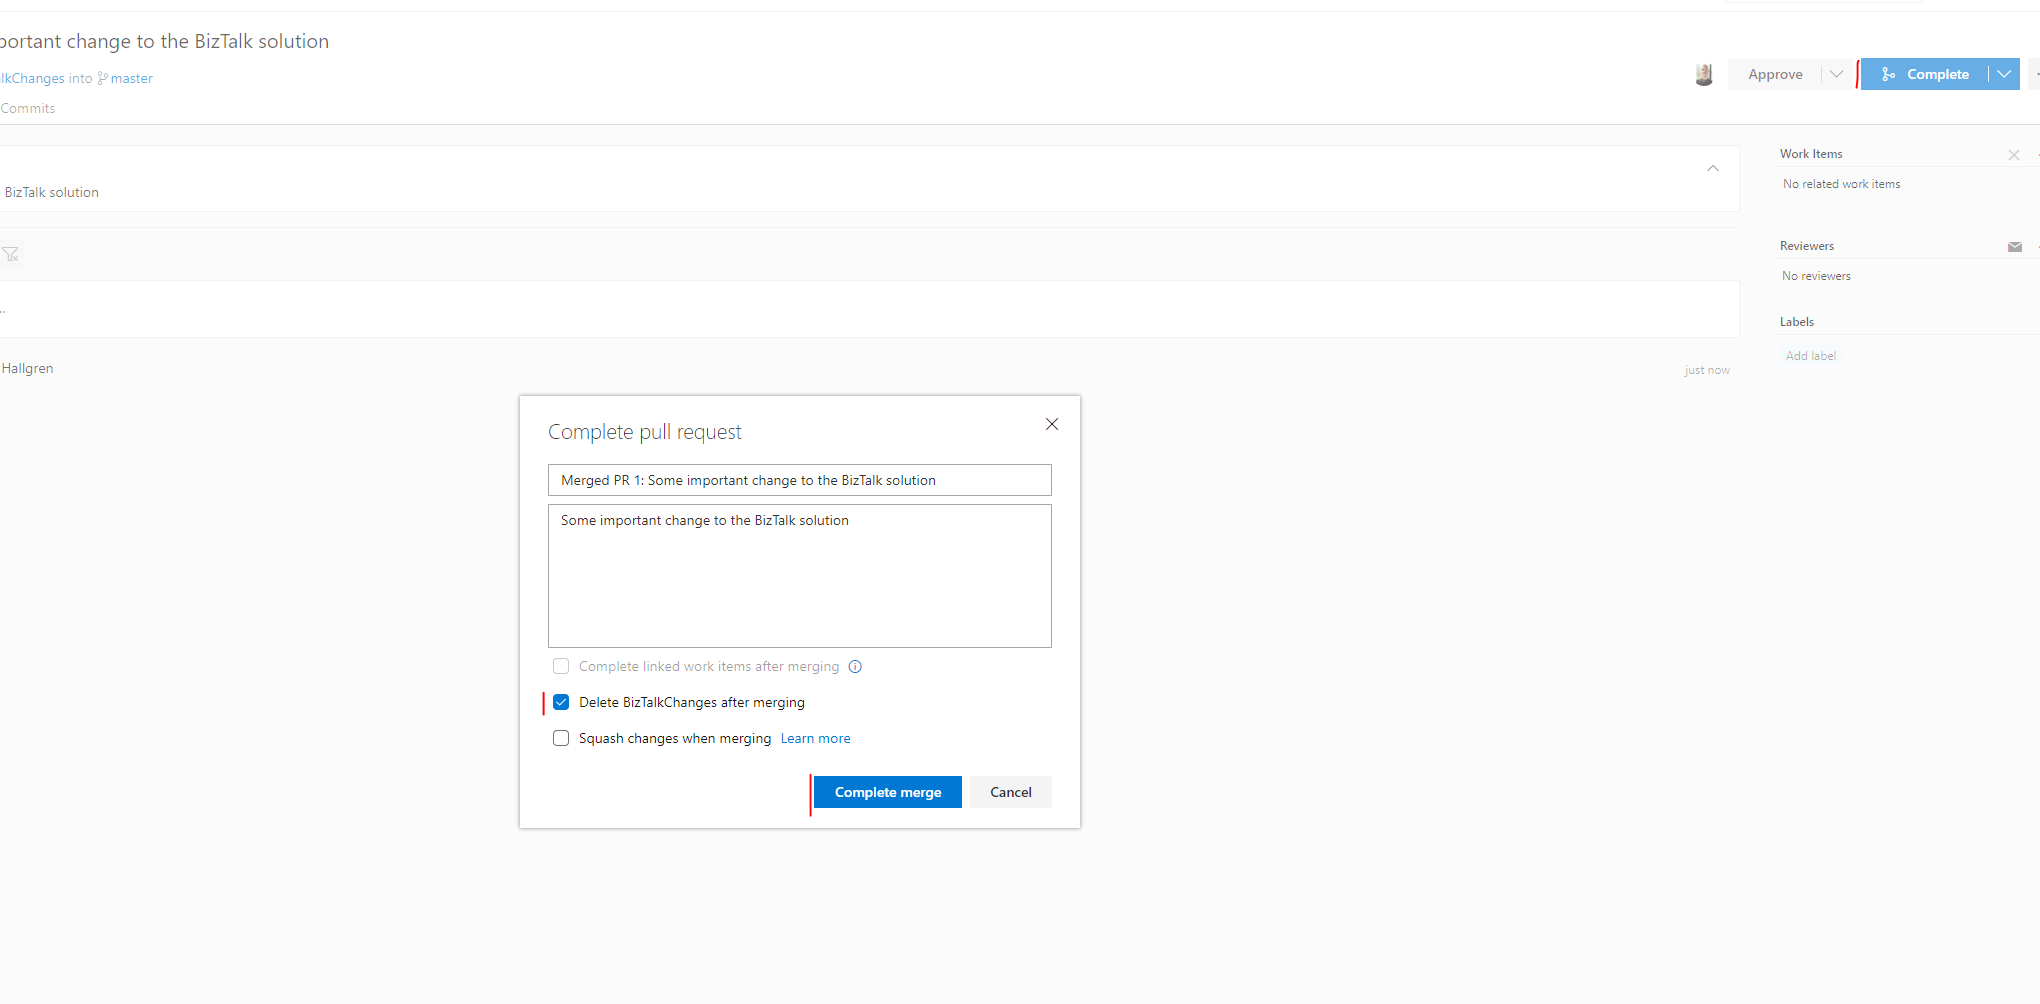
We now want to merge our “BizTalkChanges” branch into the master branch using a Pull Request. Navigate to the Pull Request section on the left side menu and click the “New pull request”. Choose your “BizTalkChanges” branch as the branch that should be merged into the master branch and click create. Normally one will at this stage ask other persons to review the pull request to finally approve it. In this lab we’ll however just Complete it ourselves directly as shown in the image below.
Notice that it’s important to remove old branches as these otherwise will create a lot of confusion.
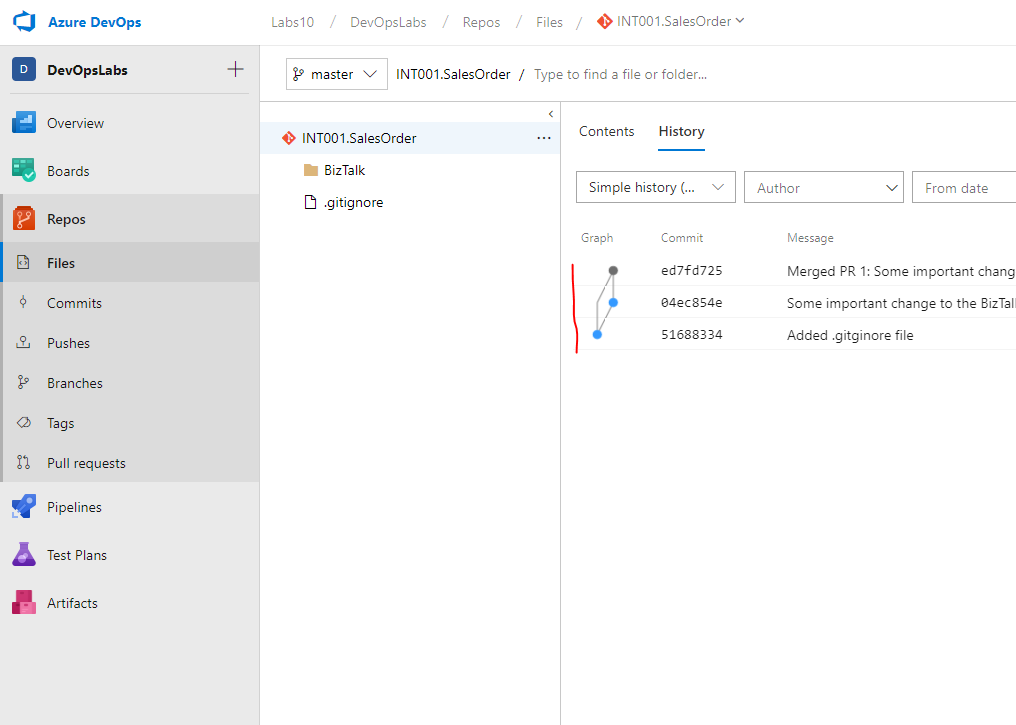
Heading back to the repo we can now see that merge is complete and that our changes are merged into the master branch.
More branches and changes
We’ve now merged our BizTalk changes. But the change we did inside the Azure folder is still not committed. Let’s see how we can add that change to a new branch, commit, push and finally pull request.
Pull changes locally
Heading back into our current prompt and executing a
git statustell us that we’re still in the BizTalkChanges branch locally (remember, we only removed in DevOps, it sill exists locally). So let’s checkout master again by executinggit checkout master. Now remember that we have changes in DevOps that we don’t have locally (we only committed to the other branch, and only merged master in DevOps) - so we need to get thoses changes to our local master branch. We do that by executing agit pull.We now have a updated master branch and can continue with the changes we have for the Azure part.
Create a new branch
Create a new branch called “AzureChanges” - you remember how, right? New you need to checkout and switch to that branch, remember?
Add the Azure folder to the staging area
Add the files in the Azure folder to the staging area. The
git addcommand, right? Next we commit the changes.You should now have a new commit containing the change to the Azure folder in the AzureChanges branch.
Push the branch to DevOps
You can’t just push at this stage but need to also track the the current branch with the local brnach, and push. Recall?
Create a Pull Request, approve it and merge
Now head over to DevOps, create a new Pull Request, approve it yourself (Not good practice! But hey, we trying to complete a lab here) and merge into master.
Update your local master using the pull command
Finally make sure your local master is up to date and have the latest commits.
Celebrate
Good work! Just to recap a few important points
- Make sure to always have a .gitignore file
- Always work in a branch
- Keep commits small with good explanatory commit messages
- Use Pull Request to merge branches into master
- Always try to have someone else approve your Pull Request before merging